What finished oil content means — and why buyers ask about it
Finished oil content is the oil left in a vacuum fried snack once frying and de-oiling are done. It is the figure that decides whether a snack can be sold as a low-oil product. A buyer who asks about it is really asking how the snack was made, and whether the number on the label can be trusted.
Buyers of healthier snacks commonly ask for finished oil content below 18%. Treat that figure as the target buyers ask about, not as a promise your product already meets — oil content varies with the product, the piece size and how the batch was fried and de-oiled, so verify it on your own product before you quote the figure to a customer.
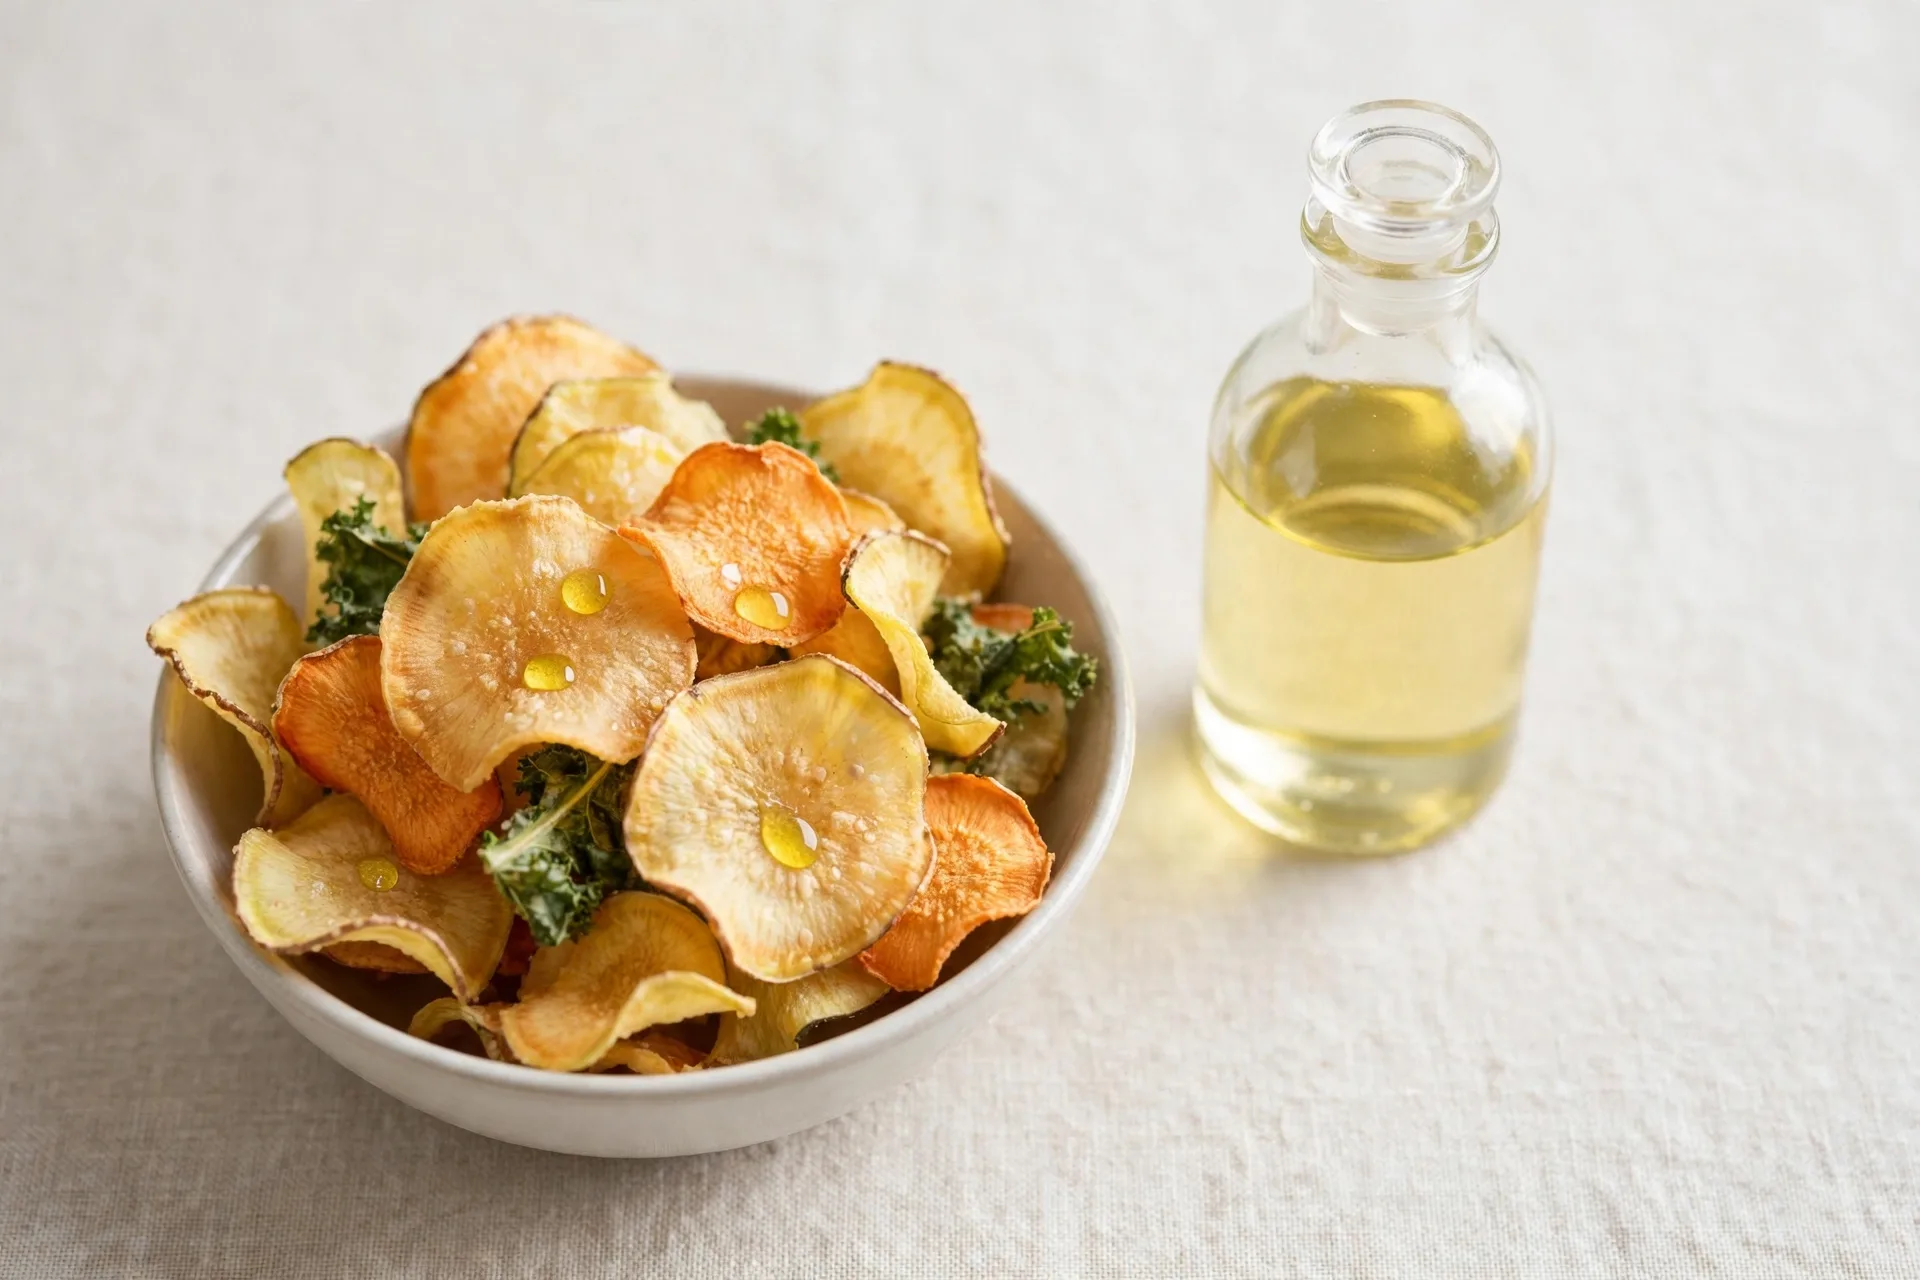
Oil content also shapes how the snack eats. Pieces that come out dry to the touch feel crisp and take seasoning evenly. Pieces that carry too much surface oil feel greasy, soften as they sit, and shed their seasoning — a quality problem the buyer notices on the first bite.
How oil gets into the product
Oil reaches the product in two ways, and telling them apart is the key to controlling the result.
Surface oil
Surface oil is the film of oil that clings to the outside of each piece when it leaves the fryer. It is the larger share of the oil in most batches, and the share you can remove: while the pieces are still hot, this oil is thin and mobile, and a centrifugal spin throws it off. Once the pieces cool, the film thickens and clings.
Absorbed oil
Absorbed oil is the oil that has moved into the piece itself during frying, entering through the pores left behind as water escapes. Once it is inside, no spin will remove it. Limit it by controlling the frying itself — temperature, piece size and oil condition — rather than trying to fix it afterwards.
The moment of greatest risk comes just after frying. If the pieces sit in oil while they cool, or the chamber is opened early, oil soaks back in through the same pores the water just left. That is why the spin happens inside the chamber, while the vacuum is still on. A batch fried well and then left to cool in oil can end up oilier than a batch fried at the wrong temperature.
How to measure finished oil content
There are two levels of measurement. The rough check in your own factory tells you whether one batch differs from another. The laboratory figure is the one you can put in front of a buyer.
A rough in-house check
Weigh a sample before frying and weigh the same sample after frying and de-oiling. The change in weight is enough to compare one batch with the next when the method stays the same. Treat it as a comparison tool, not as a reportable figure.
Laboratory analysis
For a figure you can quote, send samples to a laboratory for solvent-extraction analysis, which removes the oil from the sample and measures it directly.
Whatever method you use, sample properly. Check several pieces from different parts of the basket, because pieces at the edges and in the middle do not fry alike, and a single piece tells you nothing about the batch. Keep one written method and repeat it the same way every time, so results from different days can be compared. Never compare a figure measured one way with a figure measured another way.
What drives oil content up or down
Oil content is never decided by a single setting. It is the combined result of the temperature, the cut, the raw material, the load, the oil and the spin — and the spin matters most.
Oil temperature
Frying under vacuum happens at 80–100°C. Oil that runs cool lets pieces sit in oil longer and soak up more of it, while oil at the right temperature drives water out briskly. Bring the oil back to range before the next basket goes in.
Piece size and thickness
Thin, even pieces fry through quickly. Thick or uneven pieces need longer in the oil, and the longer a piece sits in oil, the more it takes in. Cut to one size and one thickness per batch.
Raw-material moisture
Wetter raw material releases more water in the fryer, and every pore the water leaves behind is a space oil can enter. Drain surface water before loading, and do not load material that is dripping wet.
Basket load
A basket loaded in a single even layer lets oil circulate around every piece and drain away freely. An overloaded basket traps oil between pieces and leaves oil with nowhere to go during the spin. Load for even frying, not for the largest possible batch.
Oil condition and filtration
Oil that is dark, thick with crumbs or long past filtering fries worse and clings more. Filter the oil between batches and replace oil that no longer fries clean.
Centrifugal de-oiling
Above all, the spin decides the result. The basket spins inside the chamber while still under vacuum, immediately after frying, and throws surface oil off while it is still thin and mobile. If the spin is skipped or delayed until the pieces have cooled, the surface oil stays.
How to control it in production
Control in production is a routine, not a single setting: the same steps, repeated every batch, keep oil content steady.
- Load a single even layer, with room for oil to circulate around every piece.
- Do not overload the basket to save a cycle — a crowded basket fries unevenly and traps oil.
- Filter the oil between batches and remove crumbs and sediment.
- Spin before cooling, inside the chamber while the vacuum is still on, immediately after frying.
- Handle the pieces gently after the spin, while they are still hot and fragile.
- Season after de-oiling, never before — seasoning applied earlier washes off in the oil.
- Verify each batch against your reference sample before you pack.
Keep a reference sample from a batch you were happy with. Compare every new batch against it by sight and touch before you pack — when a batch differs, you will know at once, and the checklist in the next section tells you where to look.
When a batch comes out oily
When a batch comes out glossy or oily to the touch, work through the causes before you change anything else. Change one thing, then fry a test batch and compare it with your reference sample.
- The spin: was it run before the pieces cooled? A skipped or shortened spin is the most common cause of an oily batch.
- Load size: was the basket overloaded, or loaded unevenly so the middle pieces fried less?
- Oil temperature: was the oil inside 80–100°C through the batch, or did it run cool?
- Oil condition: was the oil filtered between batches, and does it need replacing?
If the checklist clears all four points, look at the raw material — a wetter or thicker cut than usual.
Choosing a vacuum fryer
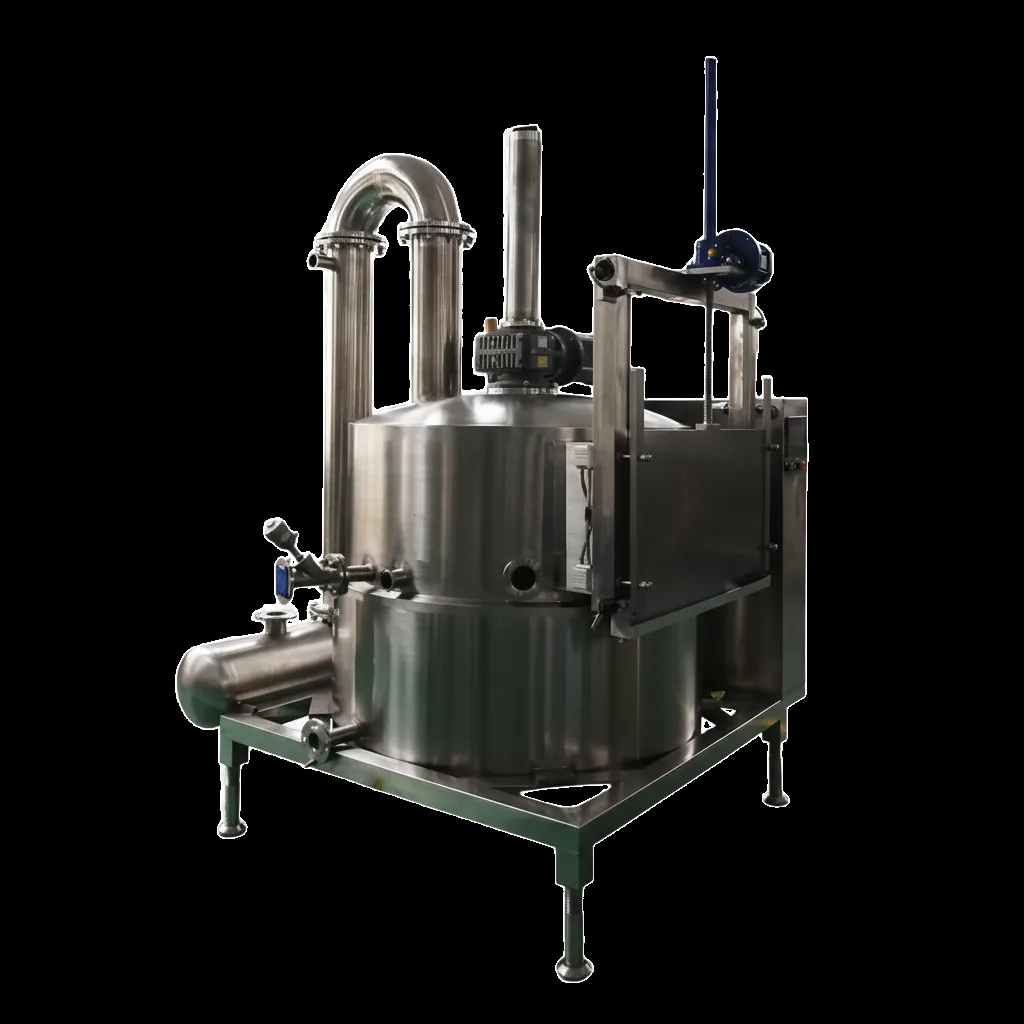
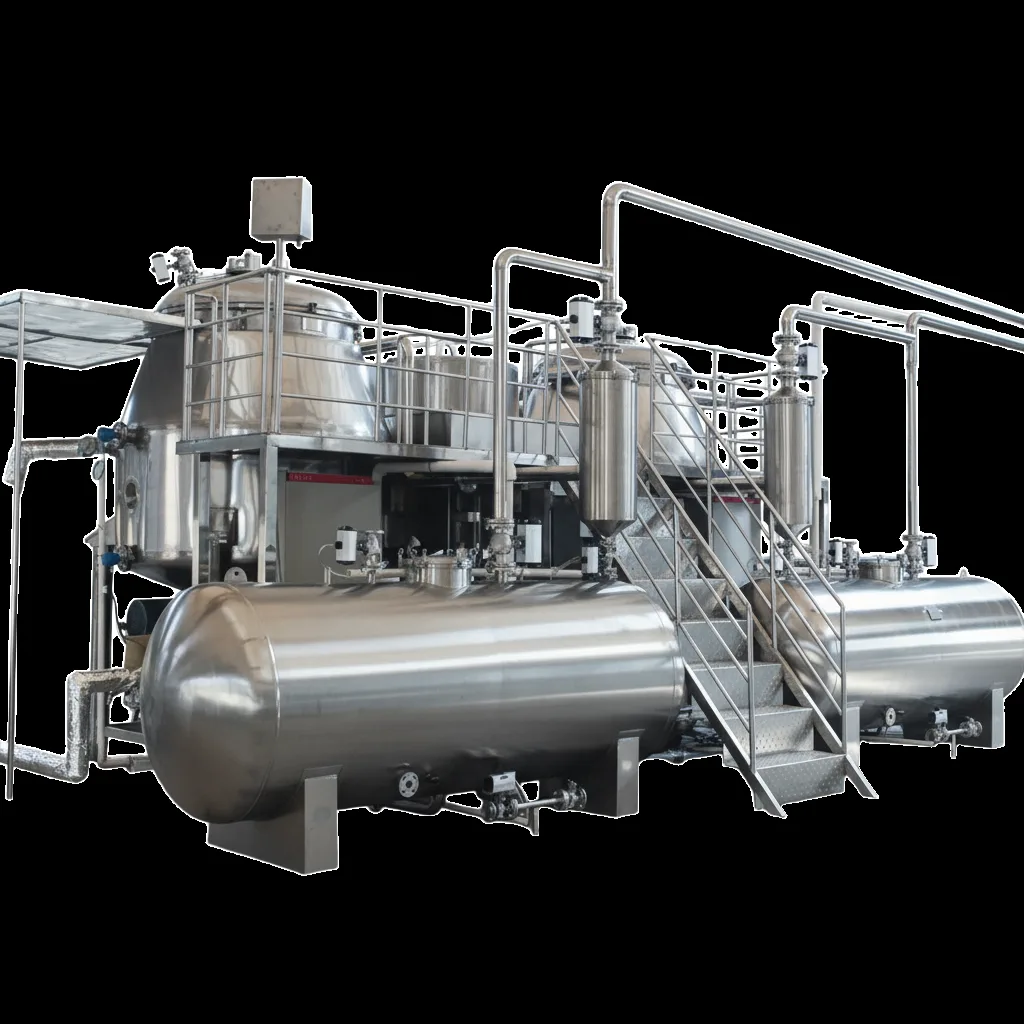
A fryer that cannot de-oil inside the chamber cannot make a low-oil snack, whatever its other features. When you compare machines, put the built-in centrifuge first. The right size depends on output: a small producer can start with a compact model, while a factory supplying retail chains needs a larger vessel and basket.
QS vacuum fryers use a Delta PLC with a MCGS touchscreen, so frying and spinning repeat from batch to batch instead of depending on who is on shift. The construction is 304 stainless steel — ask how the vessel, basket and oil system are cleaned and the oil filtered before you buy.
QS vacuum fryer models
| Model | Batch capacity |
|---|---|
| QS-VF100 | 100KG/batch |
| QS-VF150 | 150KG/batch |
| QS-300 | 300KG/batch |
- QS-300 vessel: 2600mm (H) x 1600mm (D).
- Frying temperature: 80–100°C under vacuum.
- De-oiling: centrifugal, inside the chamber.
- Control: Delta PLC with MCGS touchscreen.
- Construction: 304 stainless steel.
- Warranty: 1-year warranty; lead time approx. 3 months.
Before you buy, run a trial batch of your own product on the machine you are considering — colour, crunch, surface oil and breakage are all visible in one basket.
Common mistakes to avoid
Most oily batches come from the same few oversights.
- Skipping or shortening the centrifugal spin, leaving surface oil on the pieces.
- Opening the chamber early and letting the pieces cool in oil.
- Overloading the basket to save a cycle, leaving middle pieces pale and oily.
- Quoting the below-18% figure before verifying it on your own product.
- Seasoning before de-oiling, so the coating washes off in the oil.
- Copying settings from another product without testing them on your own snack.
Frequently asked questions
What is a good finished oil content for vacuum fried snacks?
Buyers of low-oil snacks commonly ask for finished oil content below 18%. Treat that figure as the target your buyers ask about, and verify it on your own product before you quote it — the result depends on the product, the piece size and how the batch was fried and de-oiled.
Why does my vacuum fried snack come out oily?
The usual causes are a skipped or shortened centrifugal spin, an overloaded basket, oil that has run cool, or oil that needs filtering. Work through the checklist in the troubleshooting section, starting with the spin, and test again on a small batch before you change anything else.
How do I measure the oil content of a finished snack?
Weigh a sample before and after frying for a rough in-house check, and send samples to a laboratory for solvent-extraction analysis when you need a reportable figure. Check several pieces from different parts of the basket, keep one written method, and repeat it the same way every time.
Does the centrifugal spin really make a difference?
Yes. The basket spins inside the chamber while still under vacuum, immediately after frying, and throws surface oil off before the pieces cool and soak it back in. A fryer without a built-in centrifuge cannot do this step, so check for it before you buy.
Talk to us about your vacuum frying line
Tell us your product and target output — we will help you size the fryer. Explore the range on our vacuum fryer page.
Specifications are for reference only and are subject to the final supplied equipment.